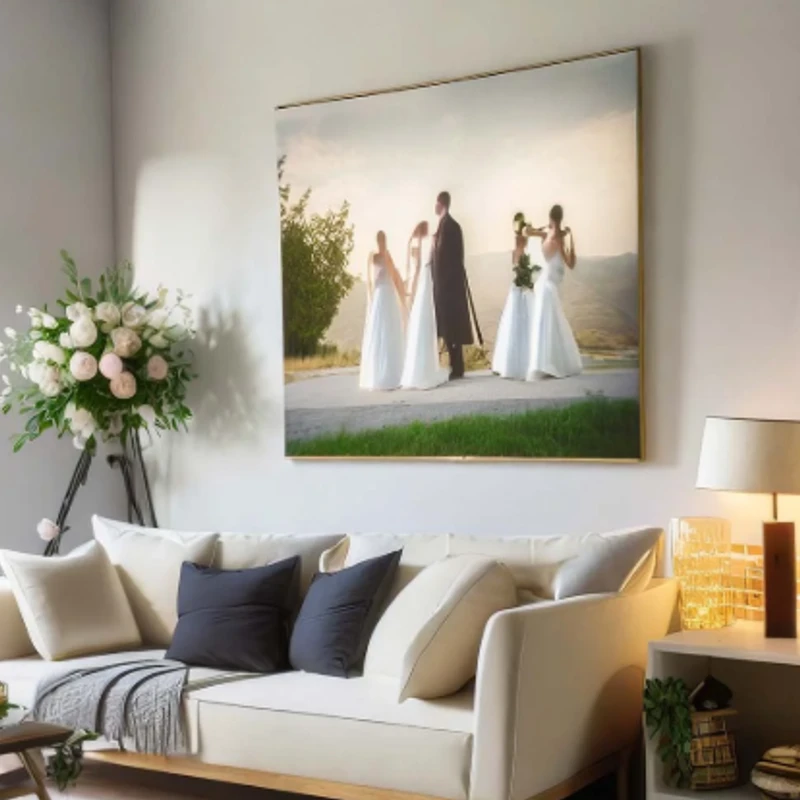
Your home is more than just walls and furniture; it’s a reflection of who you are and the life you’ve lived. What if you could transform those precious memories – the laughter, the adventures, the milestones – into stunning decor that makes your space truly irreplaceable? It’s easier than you think to turn personal photos and keepsakes into meaningful design elements that tell your unique story.
Choosing the Memories That Tell Your Story
Instead of just grabbing every photo you love, think about creating a narrative. Group your memories by themes like “Our Travels,” “Three Generations,” or “Growing Together.” This thematic approach gives your display purpose and helps you select images that represent significant chapters of your life. When choosing, balance emotional impact with visual quality – aim for well-lit, clear photos that capture both feeling and detail.
- Focus on themes or stories for a cohesive narrative.
- Balance emotional resonance with visual clarity (good lighting, focus).
- Include a mix of wide shots, candid moments, and close-up details.
- Consider the comfort and consent of individuals featured in shared spaces.
Matching Memories to the Perfect Format
The way you display a memory significantly impacts how it’s perceived. Traditional framed prints offer versatility, while canvas prints give photos a gallery-like presence. Fine art matte paper, metal prints, or shadow boxes each provide a distinct aesthetic and come with their own practical considerations like weight, glare, and durability.
Consider the memory itself: portraits and milestones look great with softer finishes that reduce glare, while sweeping landscapes shine on larger, frameless displays. Small keepsakes like ticket stubs or handwritten letters are perfect for shadow boxes, preserving them alongside related photos. For longevity, always prioritize archival-quality inks and papers that resist fading.
Designing for Cohesion and Flow
Before you hang a single item, look at the room itself. A calm bedroom might call for serene compositions and softer colors, while a vibrant creative studio can handle bolder displays. Aligning themes with room function also helps – celebrations fit well in kitchens or dining areas, while hallways can showcase a chronological timeline of life.
Achieve visual harmony by converting clashing photos to black-and-white, using consistent frame styles, or pairing a large focal image with smaller supporting pieces. For a gallery wall, start with a central “hero” image and build outwards. Always lay out your arrangement on the floor first, and use painter’s tape on the wall to test spacing before making any holes.
Adding Depth with Objects and Layers
Elevate your displays by combining two-dimensional photos with three-dimensional objects. Imagine a kitchen shelf featuring framed recipes alongside old cooking tools and photos of family meals. Shadow boxes can beautifully unite travel souvenirs with pictures from the same trip. Leaning frames on shelves instead of hanging everything creates a relaxed, collected vibe, and mixing textures adds visual interest.
Preserving Your Treasures
To ensure your memory displays last, use quality materials and avoid direct sunlight or high-humidity areas. Dust gently with a soft cloth, and never spray cleaners directly onto prints or frames. Crucially, maintain digital backups of all your photos. Organize them by event or year to make future updates seamless. Creating a “best of” folder after major milestones ensures you capture those fresh memories.
Making It Truly Personal
Involve the people who share your space in the process. Let children pick their favorite school photos, or ask your partner to choose relationship milestones. Rotating pieces periodically keeps displays fresh and reinforces a shared sense of home. Handwritten captions—a date, a place, a short anecdote—add an intimate touch that purchased art can’t replicate, inviting conversation and connection.
Thoughtful selection, intentional design, and quality materials are key to transforming scattered photos into a meaningful display. Start small, perhaps with one wall or room, identify the story you want to tell, and experiment. When your memories move from storage to your walls, they become a vibrant, living part of your everyday life.
How do you display your favorite memories at home? Share your creative ideas and tips in the comments below!
Leave a Reply